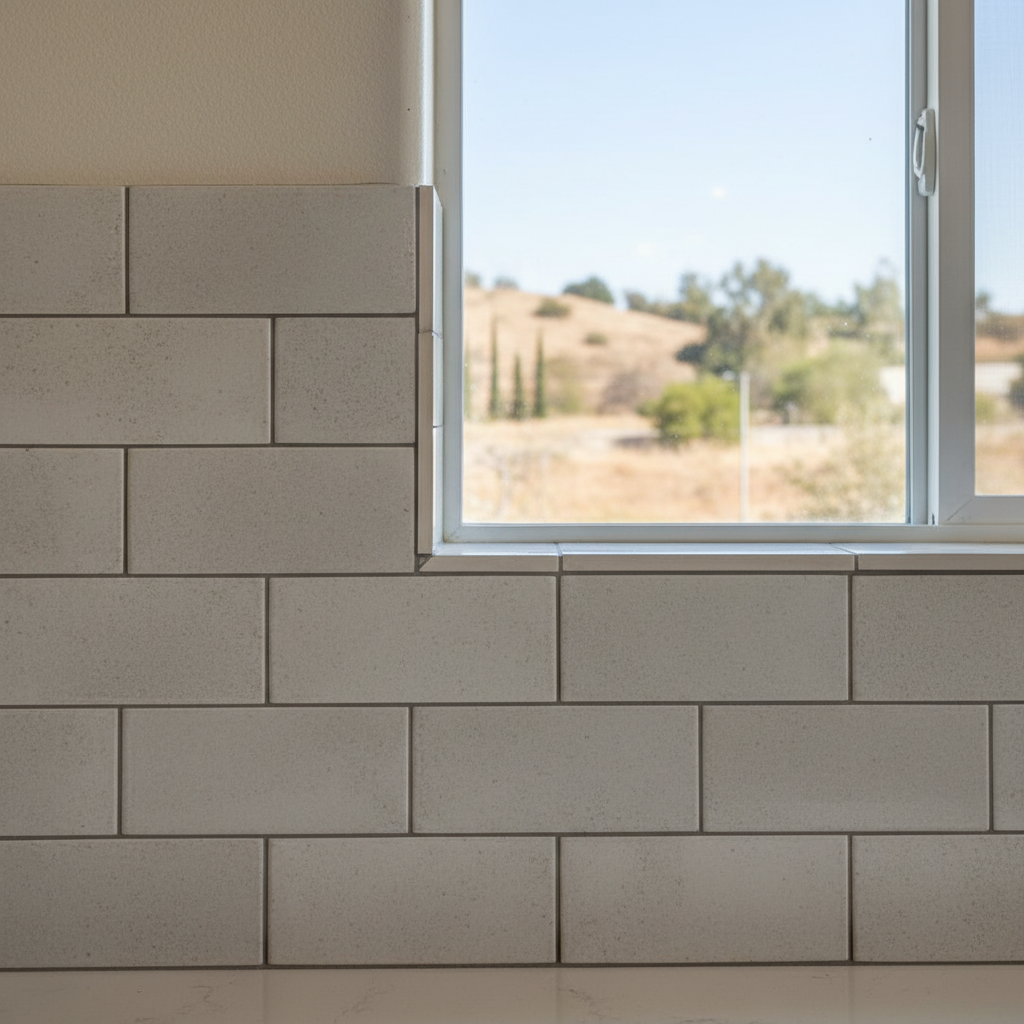
Thinking About a New Backsplash? Here's What You Need to Know
Alright, so you're staring at your kitchen, maybe thinking, "That wall just needs something, doesn't it?" A new backsplash, you know, it's a fantastic way to give the whole room a fresh feel without ripping everything out. For many homeowners in Fontana, it's one of those projects they consider doing themselves, and honestly, why not? It can be a pretty satisfying DIY job. But let's be real here, it's not always as simple as it looks on those home improvement shows. As someone who's put in more backsplashes than I can even count, I've seen it all – the good, the bad, and the downright ugly.
Before you even think about buying a single tile, you really need to understand what you're getting yourself into. This isn't just about picking a pretty pattern; it's about knowing the whole process, being honest about your own skill level, and knowing when to just throw in the towel and call a pro. So, let's break it down.
Before You Even Think About Tiling
Preparation, my friend, is half the battle. Maybe even more. Skip this part, and you're just asking for trouble.
- Measure, Measure, Measure: Please, don't just eyeball it. Grab a tape measure and figure out the exact square footage you need. Then, add about 10-15% extra for cuts, any oopsies, and maybe even a few tiles for future repairs. You'll seriously thank me later when you don't have to race back to the store for one more box of that tile that's now discontinued.
- Pick Your Tile Wisely: There's a ton of options out there – ceramic, porcelain, natural stone, glass, metal. Each one has its own little quirks. Ceramic and porcelain are usually easier for DIYers to handle. Natural stone needs sealing, which is an extra step. Glass? That can be tricky to cut without chipping. Think about how tough it needs to be and how much cleaning you're willing to do.
- Gather Your Tools: You'll definitely need a few things: a tape measure, a level, a tile cutter (either manual or a wet saw), a notched trowel, a grout float, sponges, buckets, safety glasses, and, of course, thin-set mortar and grout. Don't skimp on the tools, by the way; good ones make the job a lot easier and the final result much better.
- Surface Prep is Key: This step is super important. Your wall has to be clean, dry, and flat. If you've got old wallpaper, get it off. If there are any holes or bumpy spots, patch them up with joint compound and sand them smooth. You want a solid, stable surface for that tile to stick to. Now, if your walls are really a mess – say, crumbling old plaster – you might need to think about putting up cement board. That's usually overkill for a backsplash, but sometimes, it's just necessary.
- Layout Your Design: Seriously, don't just start sticking tiles on the wall willy-nilly. Find the center of your wall and work outwards from there. Try a "dry run" first, laying some tiles out on the counter to see how they'll fit. This helps you avoid those tiny, awkward slivers of tile and makes sure your pattern looks balanced.
During the Installation: Patience is a Virtue
Okay, you've prepped, you've got your tools ready. Now for the fun part, right?
- Mixing Thin-Set: Follow the manufacturer's instructions exactly. You're aiming for a consistency like peanut butter – not too watery, not too stiff. Mix small batches; this stuff dries faster than you'd think, especially on a hot Fontana afternoon.
- Applying Thin-Set: Use the notched trowel to spread the thin-set evenly on the wall, not on the back of each tile. Make sure all your notches go in the same direction. And don't spread too much at once, or it'll start to skin over before you get your tiles up.
- Setting Tiles: Press each tile firmly into the thin-set with a slight twisting motion. Use spacers to keep those grout lines nice and consistent. Keep checking with your level as you go, because tiles have a sneaky way of creeping out of alignment.
- Cutting Tiles: For straight cuts, a manual tile cutter works great, especially for ceramic or porcelain. But for more intricate cuts, like around outlets or corners, a wet saw will be your best friend. If you're using glass, be extra careful; it can chip super easily.
- Grouting: Once the thin-set has fully dried (usually 24 hours, but check the bag!), you can grout. Mix the grout as instructed. Use a rubber grout float to spread it diagonally across the tiles, really pushing it into the joints. Wipe off any extra grout right away with a damp sponge. You'll probably need to do a few passes as it dries.
After the Project: The Finishing Touches
You're almost there! Don't skip these last few steps.
- Clean Up: Once the grout has set up a bit, you'll see a hazy film (grout haze) on the tiles. Wipe it off with a clean, damp sponge. You might need to do this a couple more times over the next few days.
- Caulking: This is an important one. Where the backsplash meets the countertop and where it meets the cabinets, you need to run a bead of silicone caulk. This seals those joints, stopping water from getting behind your tiles. Use a good quality kitchen and bath caulk that matches your grout color.
- Sealing (if needed): If you went with natural stone or unglazed tile, you'll need to put on a sealer. This protects it from stains and moisture. Just follow the product's instructions. Ceramic and porcelain usually don't need sealing.
DIY vs. Calling a Pro: When to Know Your Limits
So, when's it a good idea to tackle this yourself, and when should you just call someone like me?
- DIY if: You're patient, you've got some basic home improvement skills, you're comfortable using tools, and your walls are in pretty good shape. A simple subway tile pattern, for example, is a great starting point for a DIYer.
- Call a Pro if: You're short on time, your walls are uneven or need a lot of repair, you're working with tricky materials like tiny mosaic tiles or super intricate patterns, or you just want a perfect, no-stress finish. If you're doing a full kitchen remodel, it often makes sense to have the pros handle the backsplash too. It just keeps everything coordinated and on schedule. We've got the specialized tools and experience to make quick work of it, especially with those tricky cuts around outlets or if your walls aren't perfectly straight – which, let's be honest, happens a lot in some of the older homes around the Jurupa Hills area.
Look, a backsplash can truly transform your kitchen. If you're feeling confident, go for it! Just take your time, do your homework, and don't rush. If you get stuck or realize it's more than you signed up for, that's exactly what Coastal Kitchen Remodeling is here for. We're always happy to help Fontana homeowners get the kitchen they've been dreaming of.