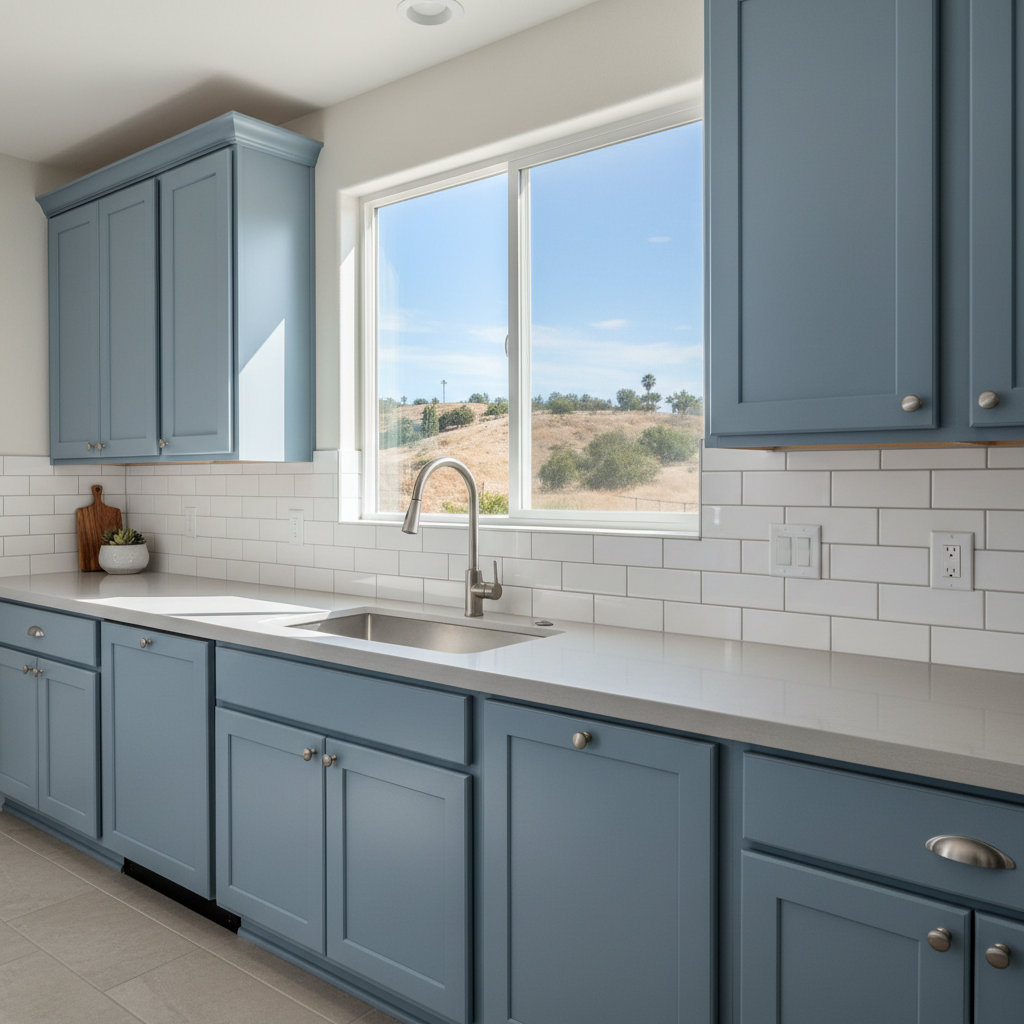
So, you're thinking about sprucing up your kitchen, maybe adding a new backsplash? Sounds pretty straightforward, right? Just pick some tiles, slap 'em on, and call it a day. Well, hold on a sec. As a contractor who's been doing this in Fontana for years, I've seen plenty of backsplash projects go completely wrong because folks didn't know what to watch out for. Let's chat about the usual screw-ups and how you can dodge them.
Mistake #1: Skipping the Prep Work
This one's probably the biggest. People get all excited about the tile itself and totally forget about everything that comes before it. You simply can't stick new tile over old, bumpy surfaces. If your walls aren't clean, dry, and flat, you're asking for trouble. I've personally seen backsplashes start to crack or even fall off because the wall wasn't prepped right. You need to clean off any grease, fill holes, sand down bumps, and sometimes even skim coat the wall to get it perfectly smooth. If you're going over drywall, make sure it's primed correctly, especially in damp spots like behind the sink. Skipping this step? It's like trying to build a house on quicksand – it just won't hold up.
Mistake #2: Not Realizing What Materials Really Cost (and How Much You'll Waste)
Everyone wants to stick to a budget, and that's smart. But a lot of homeowners only think about the price of the tiles themselves. You've also got thin-set mortar, grout, caulk, spacers, sealer, maybe even some trim pieces. Those extras really pile up fast. And then there's waste. Even the most seasoned pros cut some tiles wrong or break a few. I always tell my clients to buy at least 10-15% more tile than they figure they need. If you've got tricky cuts or a complex pattern, sometimes you'll want even more. It's way cheaper to grab an extra box upfront than to run out halfway through and then have to scramble to find more of the exact same dye lot. Believe me, that can be nearly impossible with some of the unique tiles we see around neighborhoods like Sierra Lakes or Heritage Village.
Mistake #3: Picking the Wrong Grout Color and Type
Grout isn't just there to fill gaps; it plays a huge role in how your backsplash ultimately looks. A lot of folks just grab whatever white or gray grout is cheapest. But the color can totally change how your tiles appear. Too light, and your tiles might look washed out. Too dark, and it can create a grid pattern that just overwhelms the tile. You also need to think about the kind of grout. Sanded grout works best for wider joints, unsanded for narrower ones. And if it's going behind a stove or sink, you might want an epoxy grout – it's more stain-resistant and waterproof. Regular cementitious grout can stain easily, especially with cooking splatters, and it needs to be sealed properly. Don't let a bad grout choice ruin your beautiful tile job, okay?
Mistake #4: Forgetting About Electrical Outlets and Switches
This is a practical detail that gets overlooked constantly. Your backsplash isn't just a flat wall; it's got outlets and light switches. You really need to plan for these. Will the tile fit around them neatly? Do you need outlet extenders to bring the receptacles flush with the new tile surface? If you don't think about this ahead of time, you'll end up with outlets recessed into the wall or sticking out awkwardly. It looks sloppy, and frankly, it can even be a fire hazard if not done right. A good contractor from Coastal Kitchen Remodeling will always make sure these little details are handled cleanly and safely.
Mistake #5: DIYing Without the Right Tools or Skills
I get it, you want to save a few bucks. And a backsplash can seem like a pretty manageable DIY project. But it actually takes precision, patience, and the right tools. You'll need a wet saw for clean cuts, a good notched trowel for even mortar application, spacers, a level, and a rubber float for grouting. If you don't have these or haven't used them before, you're going to struggle. Crooked tiles, uneven grout lines, and messy cuts are dead giveaways of an amateur job. Sometimes, trying to save a few bucks upfront ends up costing more when you have to pay a pro to fix it later. Be honest with yourself about your skill level and how much time you actually have. If you're not confident, it's totally fine to call in Coastal Kitchen Remodeling. We do this every single day.
Mistake #6: Not Thinking About Long-Term Maintenance
Different materials need different kinds of care. Some natural stones, for example, need regular sealing to prevent staining. Certain grouts are more porous than others, too. Think about your lifestyle. Do you cook a lot? Do you have kids who make messes? If you're not keen on constant upkeep, maybe a super porous, light-colored natural stone isn't the best choice for behind your stove. Porcelain and ceramic are generally lower maintenance and more durable, which is why they're so popular. Plan for how you'll clean and maintain your backsplash so it keeps looking great for years to come.
A backsplash can truly transform your kitchen, but only if it's done right. Don't rush into it, do your homework, and don't be afraid to ask for help if you need it. It's your home, after all, and you want it to look its absolute best.